At home arm workouts no equipment can help you build useful strength without buying dumbbells, rearranging the living room, or pretending you have an hour to spare. As a coach, I have seen busy parents, desk workers, and complete beginners make real progress with short sessions they can repeat. The goal is not to punish your arms or chase a dramatic before-and-after photo. It is to make pushing, carrying, lifting, and reaching feel easier in daily life.
Your arms do not work alone. The chest, shoulders, upper back, and core all help create strong, controlled movement. That is why this routine uses several patterns instead of endless curls. You will work your triceps, shoulders, chest, and stabilizing muscles with body weight, a wall, and the floor. If getting down to the floor is uncomfortable, every exercise includes a standing or elevated option.
How to prepare for this no-equipment arm routine
Give yourself about 15 minutes and choose a clear patch of floor. A carpet, yoga mat, or folded towel can make kneeling more comfortable, but none of them is required. Wear shoes if your floor is slippery. Keep water nearby, and silence the phone for long enough to finish one round. That small bit of preparation removes the decision-making that often stops a workout before it begins.
Start with two minutes of easy movement. Roll your shoulders slowly backward and forward, swing your arms across your chest without forcing the range, and march in place. Finish the warm-up with five gentle wall push-ups. The point is to raise your temperature and let your wrists and shoulders practice the positions ahead, not to tire yourself out before the work starts.
For this session, perform each exercise for 30 seconds, then rest for 20 seconds. Complete two rounds. If you are brand new to exercise, one round is a complete workout. Move slowly enough to notice whether your ribs, shoulders, and wrists feel organized. Muscle effort is expected; sharp pain, numbness, or a pinching sensation is a reason to stop and adjust.
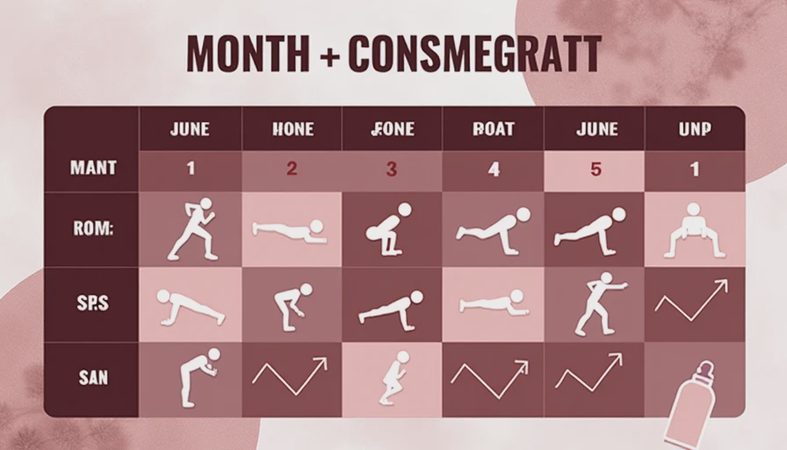
The four-move at home arm workouts no equipment circuit
Begin with wall push-ups. Stand about two feet from a wall, place your hands just below shoulder height, and keep your body in one long line. Bend your elbows to bring your chest toward the wall, then press away. This is an excellent starting point because you control the resistance by changing your distance from the wall. Move your feet farther back for more challenge or closer for less. Wall push-ups train the chest and triceps while teaching your shoulder blades to move naturally.
Next, use an incline push-up against a sturdy counter or the back of a heavy sofa. Do not use a lightweight chair that can slide. Place your hands slightly wider than your shoulders, step back, and lower your chest toward the edge. Keep your elbows angled roughly 30 to 45 degrees from your body rather than flaring them straight out. Press the surface away from you. The higher the surface, the easier the exercise; a countertop is usually friendlier than the floor for beginners.
After that, try a kneeling triceps push-up. Start on your hands and knees with your hands under your shoulders. Shift your knees back slightly, brace your stomach, and bend your elbows so they travel close to your ribs. Lower only as far as you can control, then press the floor away. You do not need to reach the floor. A small range with steady form builds more useful strength than a deep repetition that collapses your shoulders.
Finish with a bear plank shoulder tap. From hands and knees, tuck your toes and lift your knees one or two inches, or keep them down for the beginner version. Slowly lift one hand to tap the opposite shoulder, then switch sides. Try to keep your hips from rocking. This move challenges the shoulders and triceps while your core resists rotation. If your wrists complain, perform the taps from a high plank on fists only if that position feels comfortable, or return to a tabletop hold.
How to make the routine easier or harder
A successful progression is not about doing more at any cost. It is about keeping the same controlled shape while gradually asking your muscles to do a little more. For at home arm workouts no equipment, you can first add a third round, then increase work intervals from 30 to 40 seconds. You can also reduce rest from 20 seconds to 15, but only after your breathing settles quickly between exercises.
Changing the angle is another smart tool. Wall push-ups can become counter push-ups, then knee push-ups, and eventually full push-ups if that is a goal you genuinely want. You can make shoulder taps harder by widening your feet less, or easier by widening them more. For triceps work, slow the lowering phase to three seconds. Tempo creates challenge without requiring a heavier object.
Do this session two or three nonconsecutive days per week. Your muscles need recovery, especially when a movement is new. On other days, take a walk, practice mobility, or simply move around the house. Strength improves through the combination of training and recovery, not through cramming hard sessions together.

Form fixes that make a big difference
The most common issue I see during no-equipment arm work is rushing. A fast repetition often hides a shoulder shrug, a sagging lower back, or elbows traveling in an uncomfortable direction. Slow down and breathe out as you press. Keep your neck long, as if you are gently holding an orange between your chin and chest. That cue helps prevent your head from reaching toward the floor first.
If your wrists feel sensitive, place your hands on a countertop instead of the floor, make each set shorter, or take a few seconds to circle your wrists between exercises. If your shoulders feel pinched, bring your hands slightly lower, reduce the depth, and keep your elbows closer to your sides. Persistent pain is different from normal effort and deserves attention from a qualified health professional.
You can also record one set on your phone from the side. Look for a straight line from your shoulders through your hips during push-up variations. During shoulder taps, notice whether your hips swing dramatically from side to side. A quick video often reveals a simple fix that you cannot feel while concentrating on the movement.
A realistic way to stick with it
Attach your workout to something already in your day. You might train after your morning coffee, before your shower, or while dinner cooks if another adult can watch the stove. Put a small checkmark on a calendar after each session. The mark is not a grade; it is evidence that you kept a promise to yourself.
Expect the first week to feel awkward. Your arms may shake, and 15 minutes may seem surprisingly demanding. By the third or fourth week, you may notice that getting up from the floor, carrying groceries, or lifting a child feels more secure. Those everyday wins matter more than chasing soreness. If you miss a week, simply restart with one round instead of trying to make up for it.
At home arm workouts no equipment work best when they fit your actual life. You do not need a perfect room, expensive gear, or a heroic mindset. Start with wall push-ups, practice the positions, and build from there. Show up. Sweat a little. Come back.
No comments yet — be the first to share a thought.